Last weekend I managed to take the 150km drive out to Lake Bumbunga with a view to astro photography given that the forecast was for clear skies. Before going out for a milky way shoot, I check to see what kind of conditions I can expect with respect to :
1. Cloud cover and temperature : If there is plenty of cloud cover around I will usually head out later in hope that a good dawn might eventuate . Any of the sites for forecasts will be sufficient. I usually go with weatherzone.com.au
2. Moonrise /Moonset /Sunrise: It’s always useful to know approximately what time twilight will start when doing astro photography since particularly around the March and September solstice periods interesting zodiac light can light up the milky way from beneath the horizon. If I’m planning for a clear milky way I’ll aim for when the moon is absent. If I’m planning to shoot interesting landscapes with stars as a feature, I’ll try to coincide the shoot with the rising or setting moon. Many apps can be helpful in this regard including the photographer’s ephemeris (http://www.photoephemeris.com/) , or photopills (http://www.photopills.com/)
3. Milky way position: There are many apps to plan this but I usually use stellarium at home on my PC (http://www.stellarium.org/). Once at the scene on a clear night, we are lucky in South Australia to have areas of dark enough skies to see areas of the milky way with the naked eye.
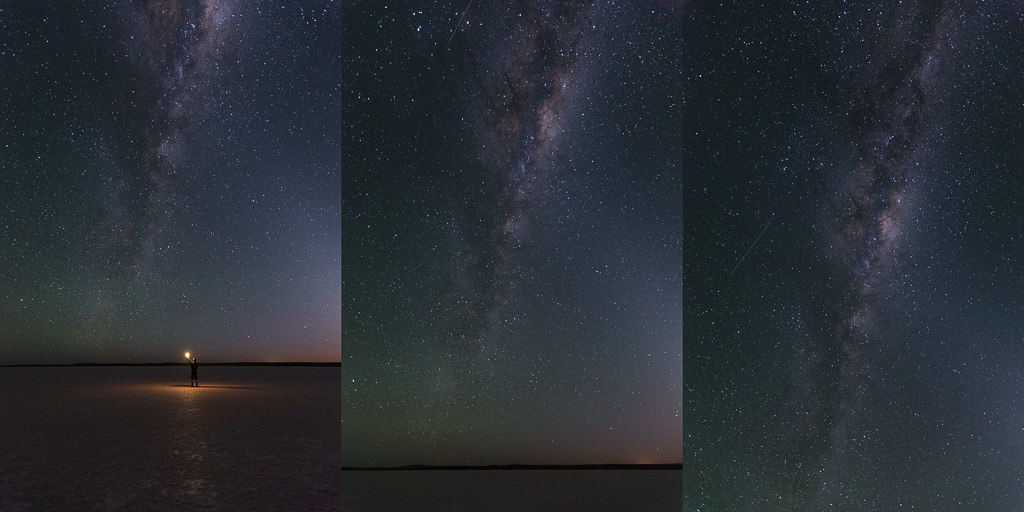
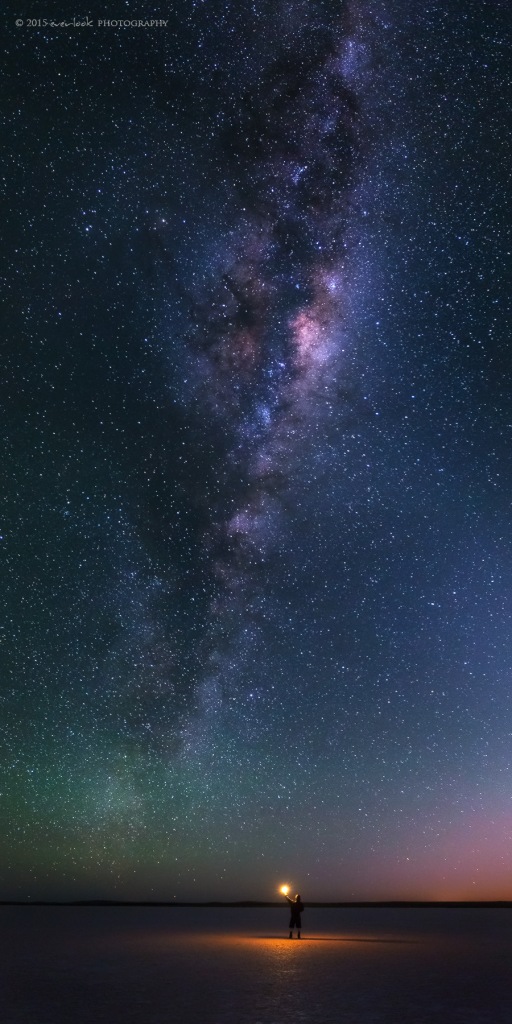
Lake Bumbunga is flanked on its western side by a main highway. Therefore any star images without light pollution need to take this into account lest a road train blaze its way into the frame. On this occasion, I knew that the galactic core (approximately where Sagittarius is located) would be in the northwest pre-dawn hence I had to walk a significant distance into the lake in order to minimise the impact of the highway. Thankfully after a dry summer, the lake was dry all the way to its heart. I could see the milky way arising vertically and set up the camera to compose a vertical panorama with me in the image to give the stars massive scale. I found that at about 20m from the camera at 16mm gave me the dimensions that I needed in order to give this feel. The lighting was done with a dim flickering electric candle which you can buy at any store like Kmart or Target. The image was triggered with a wireless remote on 2 seconds delay which gave me time to put away the remote and stand in statue mode for the 25 second exposure. I took three separate images panning up and at an angle as the corner sharpness and distortion of the 16-35mm F2.8II always comes back to bite me if I just take single frames!


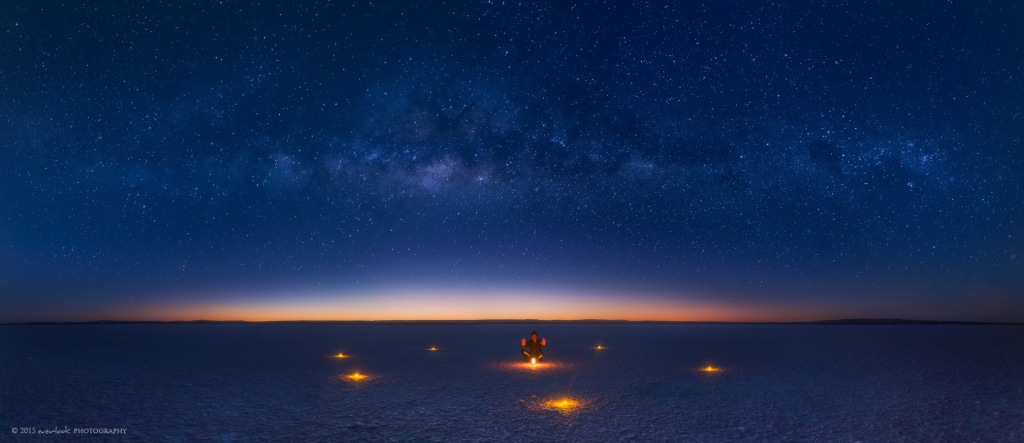
Thereafter, as the sun was starting to make its appearance I had some fun taking more images of the twilight followed by an exploration of the salt patterns before the light became too harsh.

I hope you enjoyed this quick post and we hope that we will be able to write up some tips for shooting Karijini once we are back from our trip in early April!
-D

Wow that was amazing, one of these years I’ll have a camera that offers that high of an ISO setting My highest setting is 1600..lol Fabulous work Dylan and Marianne.
Thanks Leslie – iso1600 these days is workable with most DSLRs thankfully 🙂
Awesome as always. My star shots always end in near darkness. Obviously doing something wrong? Love your work.
Thanks andrew- the shots were taken at 3200iso 25 seconds f3.2 if that helps!