With any pursuit in life everyone needs to make a start. That start might be based on a solid base of pre-learned theory, or it might be based on jumping into the deep end! Photography is one of those pursuits where Marianne and I had quite different approaches. While I always liked taking pictures, I never sought to seek any knowledge except through learning from mistakes and asking. Marianne on the other hand, took a course in SLR use (even before the digital days) and spent much of our early travels trying to explain to me what an F-stop was or the concept of aperture size. The learning curve in photography was not only steep in the field but just as steep when it came to post processing and spreading ourselves among social media circles. Here are some phases of our photography careers to date which didn’t kill us but only made us stronger. I say ‘us’ very loosely because actually, most of the mistakes are mine (Dylan’s) ! Please don’t take offence at any of these ; they reflect what I consider to be personal errors of judgment only and are definitely not targeted at individuals.
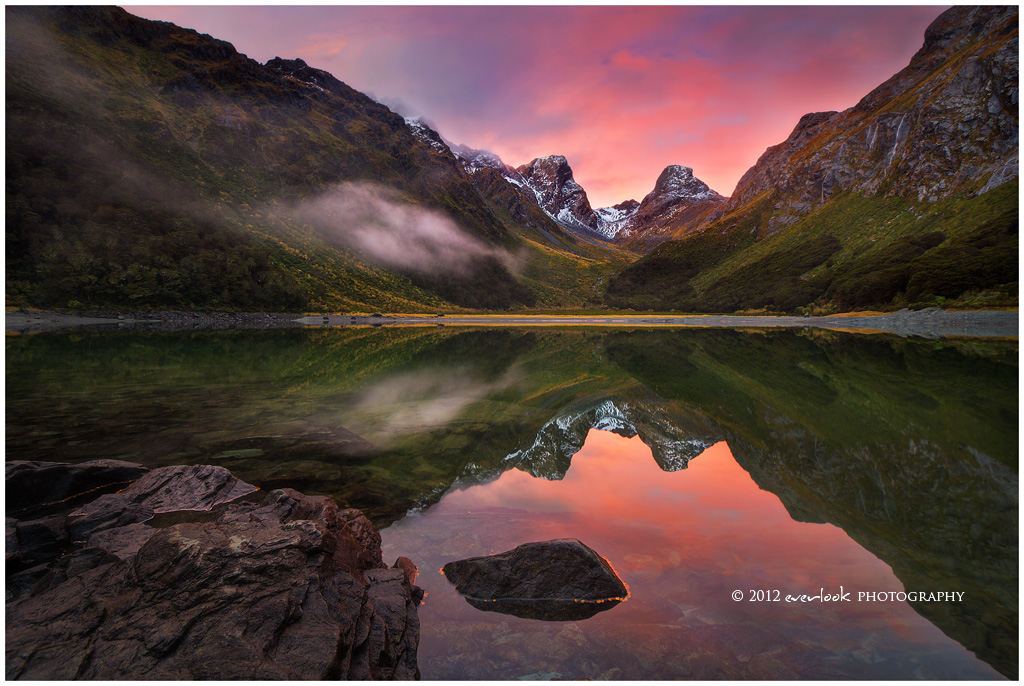
1. Everything MUST be HDR. You MUST take every shot as an autobracketed image. All of these bracketed shots must go through photomatix! Those tone mapped skies are so cool!

[Serious note] These days I still take multiple exposures for every scene ‘just in case’. I prefer to work from one image but if for whatever reason I need more resolution in highlights or shadows that I cannot achieve for ‘special’ scenes then the multiple exposures are my insurance policy that I will have something decent to work with.
2. AS IF you need an expensive tripod! Who do GITZO think they’re kidding! I’ll just use our consumer tripod and save money thanks !

[Serious note] On the whole, with photographic equipment your money tends to pay for quality but there is always a trade off. On the issue of tripods for instance, in the last 12 months I have taken a Benro tripod through its paces by shooting frequently immersed in seawater or dirty streams. It literally still works almost as new whereas a gitzo safari tripod in the corresponding 12 months prior, was more difficult to clean, has several half stuck joints and a broken foot. Though they have a lifetime warranty , sending it off for repairs is not cheap. The cost of the Benro was approximately 40% of the Gitzo though significantly more than a gorillapod!
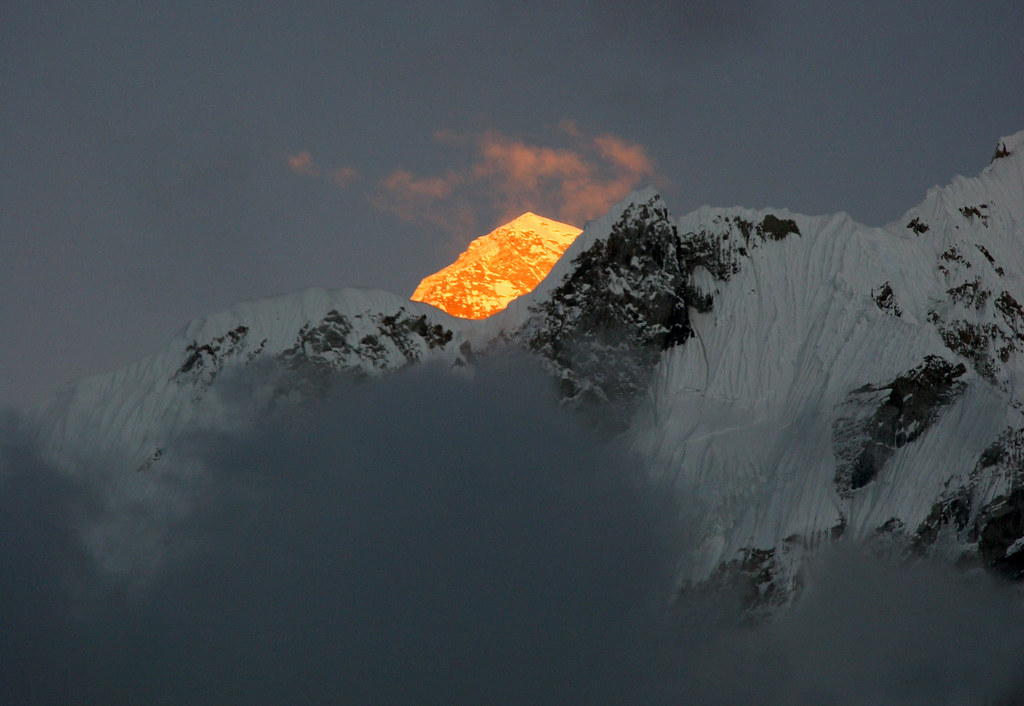
3. ISO 100 is the best quality! I MUST shoot everything at iso100 , bugger the rest of the exposure triangle!

[Serious note] Actually, in the early days with our 20D, the statement above was relatively true. Noise became an issue even at iso400! We are fortunate these days to have sensors such as the 6D’s which allow shooting relatively cleanly up to 3200 iso for night images.

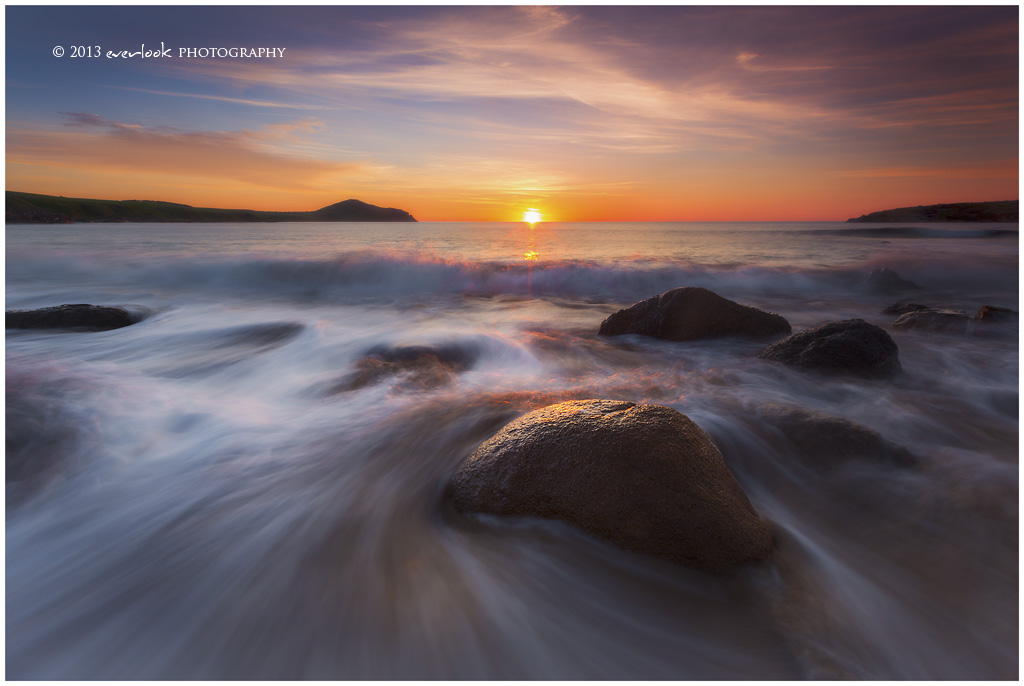
4. Landscape images need to be shot with a large depth of field. I need to shoot EVERYTHING at F22! Oh and at iso100 too – gee it’s inconvenient using a tripod for everything!
[Serious Note]: As a trade off between theoretical diffraction and large depth of field, our go-to aperture is usually F16. When lighting or shutter speed (eg wave motion) demands, we will then adjust iso or aperture accordingly to suit. The specific situations where I aim to shoot at F22 are when I want to take advantage of diffraction for sunstars.

5. Cataloging? Who needs to do that . I’ll KNOW where my images are and they won’t get touched.
[Serious note]: We’ve had to come up with systems to ensure that we don’t lose files for several reasons. Firstly, our wedding clients may as us for prints years down the track and we need to be able to find the images quickly. Secondly I personally like to apply the latest post processing knowledge I’ve acquired to older images from the archives. We literally cannot do this to anything pre 2008 due to poor back up and cataloging habits.
6. AS IF you need learn to use PHOTOSHOP to do anything. I can use lightroom PRESETs for anything and it will look cool! Who needs layers when you have a 1 click fix it all option!!

[Serious note]: Some images can be remarkably suited to a one click process. We shoot our weddings in RAW but some of the images turn out on the LCD the way we want it and we end up converting to jpeg in camera. These days, some of the magical ‘actions’ which can be purchased require a tutorial about how to use the action itself! I wonder if sometimes it might better to invest time in learning the principles of how the action works rather than learning to use the actions themselves.

7. I NEED to get my work out there! It has to come out by the BUCKETLOADS and people need to be OVERWHELMED . They may even take notice because of sheer volume rather than quality! I’ll even tag people that aren’t in these pictures so they notice that I’ve posted this AWESOMENESS!

[Serious Note]: We do put out work at a higher frequency than usual, particularly on facebook. It all depends on what you’re trying to achieve which each site. These days, the facebook page is a working diary of thoughts and images I’m currently editing. Hence you’ll more than likely only see images I’ve touched recently unless there’s a specific image I want to revisit for discussion purposes. I personally don’t appreciate being tagged in other people’s images unless there’s a reason to be (I was shooting with them that day or we just had a discussion about the said image) and personally don’t do it. Flickr and 500px are sites where I will try to maintain a flow of reasonably good images at a much slower rate (maybe twice a week) in the hope that certain images might catch the eye of editorial staff. On flickr, I even put up some images of lesser quality such that I can submit to getty through an easy route. We only reserve images which in our eyes are ‘printworthy’ for the everlookphotography.com site. Our approach may well change in the future!

I hope that was a lighthearted read for a Friday wherever you are in the world! I suspect that in a few years time, a similar post would include some examples of dubious photographic behaviour from 2013! Such is the course of natural progression where with time, more wisdom (and hopefully not bitterness) comes with the benefit of hindsight.
Next up : The conclusion of our North America trip – I’ve probably dragged the series on too long!
-D

So nice reading (and learning) from your mistakes 🙂 It’s very encouraging to see how far you’ve come. Gives me hope that I might one day achieve what you have 😛 Thanks for sharing!
Hi Dylan,
I have only enjoyed your work through the Ausphotoraphy forums. I am delighted my son has introduced me to your blog and your insight into ways of working. Your results are always an inspiration.
Ian B
Thanks Ian – no problems!
Absolutely fantastic post … word and images alike!
Haha thanks! Even the old images??
A very entertaining read Dylan 🙂
Thanks jimmy!
Interesting read Dalyn. I find my self doing quite a few of the things mentioned above. I always look up to you as an inspiration. Thanks
I think they are all things that can be done in the right situation! My mistake was thinking they had to be done all the time!
Always a pleasure looking at the images you produce. Brilliant
Thanks Michael! Dunno about the older images lol
thanks Michael 🙂
Awesome
Everything must be HDR – that’s the funny part! Great write-up Dylan. I always enjoy your writings and of course the pictures as well. I didn’t know that you’re self taught photographer. Marianne must did a great job in telling you about those F stops! 😀
I’ve purchased your Focus 8 e-book and found out it offer lots of useful tips especially on the simple editing part. But I wonder how do guys end up with so perfectly exposed shot? I know you guys take multiple exposures, but how did the post-processing goes? Is it merged in Photomatix or did you blend the exposure manually? Hope you can share this 🙂
Thanks in advance. Keep on rocking Dylan, Marianne & Charlotte!
HI Fakrul! Thanks for the comments- the blending these days is 99% done through luminosity masks manually rather thank photomatix though there’s nothing wrong with using it and picking the best parts of the image that it creates 🙂
A great read, and I really do enjoy seeing your images. Keep up the beautiful work guys. Love it!
thanks Shawn 🙂 We will try to keep on keeping on !